How to Clean and Maintain Your Vape Device in Kenya (Tank, Coil & Vape Pen Guide)
Proper vape maintenance is essential if you want your device to last longer, perform better, and deliver clean, consistent flavour. Many vapers in Nairobi and across Kenya replace coils or even full devices far sooner than necessary ,often due to poor cleaning habits.
By learning how to correctly clean your vape tank, coil, and vape pen, you can extend the lifespan of your device, improve vapour quality, and save money in the long run.
Why Cleaning Your Vape Device Matters
Over time, dust, residue, and e-liquid build-up collect inside your vape device. This can lead to:
- Weak or burnt flavour
- Reduced vapour production
- Faster battery drain
- Unpleasant machine-like or burnt odours
- Frequent coil replacement
Some e-liquids, especially those high in vegetable glycerine (VG), can leave thicker residue that clogs coils and stains tanks if not cleaned regularly.
A common sign that your vape needs cleaning is a foul or mechanical smell during use. While new devices may sometimes have a factory odour, persistent unpleasant smells usually indicate residue build-up.
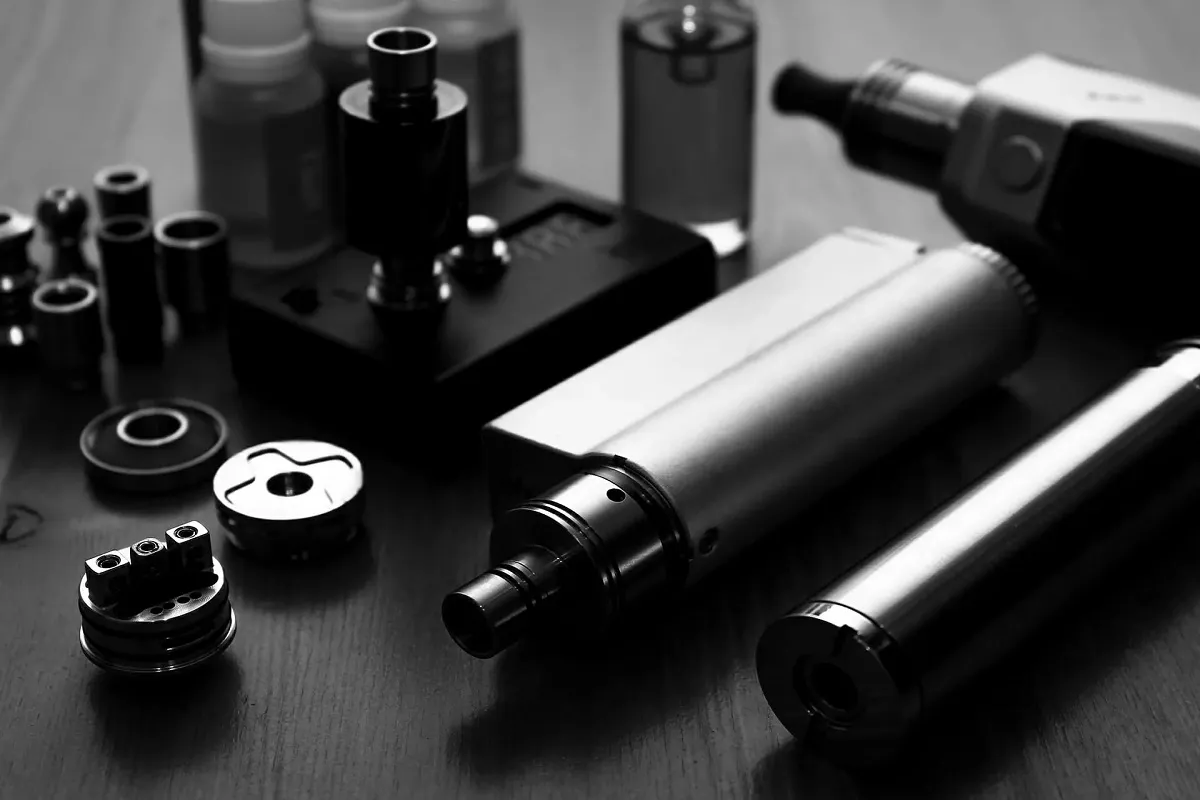
How to Clean a Vape Tank Properly
Cleaning your vape tank helps prevent flavour mixing and keeps airflow smooth.
Step-by-Step Vape Tank Cleaning Methods
1. Warm Water Rinse (Regular Cleaning)
- Disassemble the tank and remove the coil
- Rinse all tank parts under lukewarm water
- Dry thoroughly using a paper towel
- Allow to air-dry completely before reassembly
⚠️ Avoid excessive heat near rubber O-rings.
2. Propylene Glycol Soak (Deeper Cleaning)
- Soak the tank in propylene glycol (PG) for 1–2 hours
- Do not use vegetable glycerine, as it is too thick
- Rinse lightly and allow to dry fully
This method is ideal for removing lingering flavours.
3. Household Cleaning Agents (Stubborn Residue)
If water alone does not work, you may use:
- Vinegar
- Ethanol (grain alcohol)
- Vodka
- Baking soda solution
Rinse thoroughly afterwards to avoid any remaining odour.
4. Ultrasonic Cleaning (Advanced Option)
- Place tank parts in an ultrasonic cleaner with water
- Add a few drops of dishwashing liquid
- Rinse and dry thoroughly
This method provides a near-spotless clean.
Note: If any tank components are lost or damaged during cleaning, replacements are available from Vapesoko Nairobi.
How to Clean Vape Coils
Coils require more care than tanks and differ depending on the type used.
Replaceable (Pre-Built) Coils
Most pod systems and sub-ohm tanks use replaceable coils with cotton wicks. These coils cannot be restored to “new” condition but can be lightly cleaned to extend use.
Cleaning Method:
- Soak coils in vinegar, baking soda solution, or ethanol for at least 2 hours
- Rinse under running water (distilled water if available)
- Allow to dry completely (sun-drying can help)
Even with cleaning, replaceable coils should still be replaced regularly for best flavour.
Rebuildable Coils (Advanced Users)
Rebuildable coils can be cleaned more thoroughly and reused multiple times.
Basic Cleaning:
- Remove cotton wicks carefully
- Pulse the fire button briefly to evaporate residue
- Allow the coil to cool
Deep Cleaning Steps:
- Remove wicks completely
- Pulse the coil gently (do not overheat)
- Disassemble the atomiser
- Scrub gently with a toothbrush
- Rinse with water
- Pulse again briefly to remove moisture
This process removes heavy build-up and restores flavour performance.
How to Clean a Vape Pen
Vape pens contain electronic components and should be cleaned carefully.
Best Practices:
- Remove the tank and clean it separately
- Never use water on the battery
- Wipe the battery with a soft microfibre cloth
- Use a cotton swab (Q-tip) lightly dampened with rubbing alcohol to clean contact points
- Use a dry swab to remove moisture
This helps maintain good electrical contact and smooth airflow.
Final Thoughts: Keep Your Vape Performing Like New
Regular cleaning and maintenance are essential for a reliable and enjoyable vaping experience. Clean devices:
- Last longer
- Deliver better flavour
- Use battery power more efficiently
- Save you money over time
At Vapesoko Nairobi, we encourage proper vape care and provide genuine coils, tanks, and accessories to keep your device performing at its best.